

A razor-sharp knife makes life awesome—it cuts clean, it is safer, and performs great. But a dull knife? That's when the problems begin. You press harder, the blade slips quicker, and suddenly even the simplest operations seem risky or infuriating.
Luckily, sharpening isn’t some ancient mystery—it’s a hands-on skill anyone can learn. With this guide, and a bit of practice, the right angle, and the right tools, you’ll be slicing like a pro in no time.
Why a Sharp Knife Matters
Contrary to what most beginners would think, dull knives are more dangerous than sharp ones. They require more force to cut and are therefore more liable to slip and injure.
On the other hand, a razor-edge knife slices effectively with less effort, increasing extention of control and cutting accuracy. And this simply means more efficiency and better extention of blade life. A sharp edge on pocket knives or EDC knives also makes routine tasks easier and safer.

Knife Types and Their Sharpening Needs
Shaped by its blade design, steel composition, and edge geometry, each knife comes with its own sharpening demands:
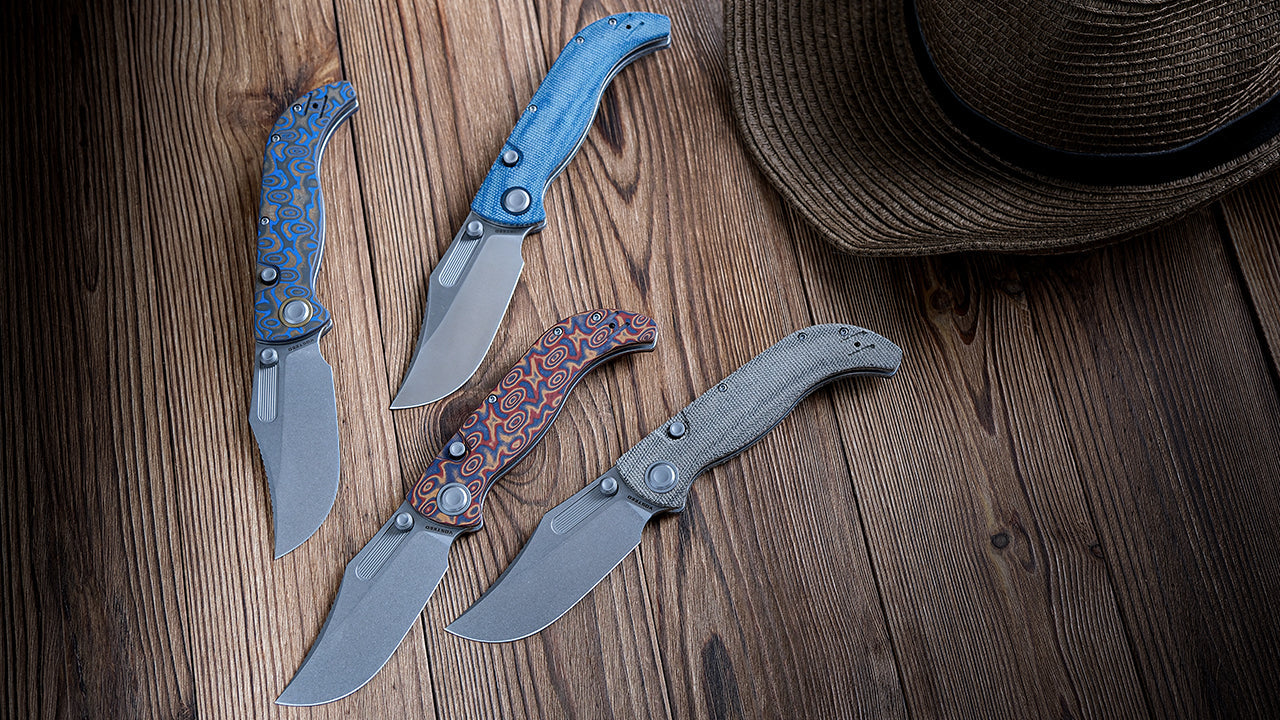
Pocket Knives vs. Folding Knives vs. Fixed Blade Knives
| Knife Type | Key Characteristics | Sharpening Needs |
| Pocket Knives |
|
|
| Folding Knives |
|
|
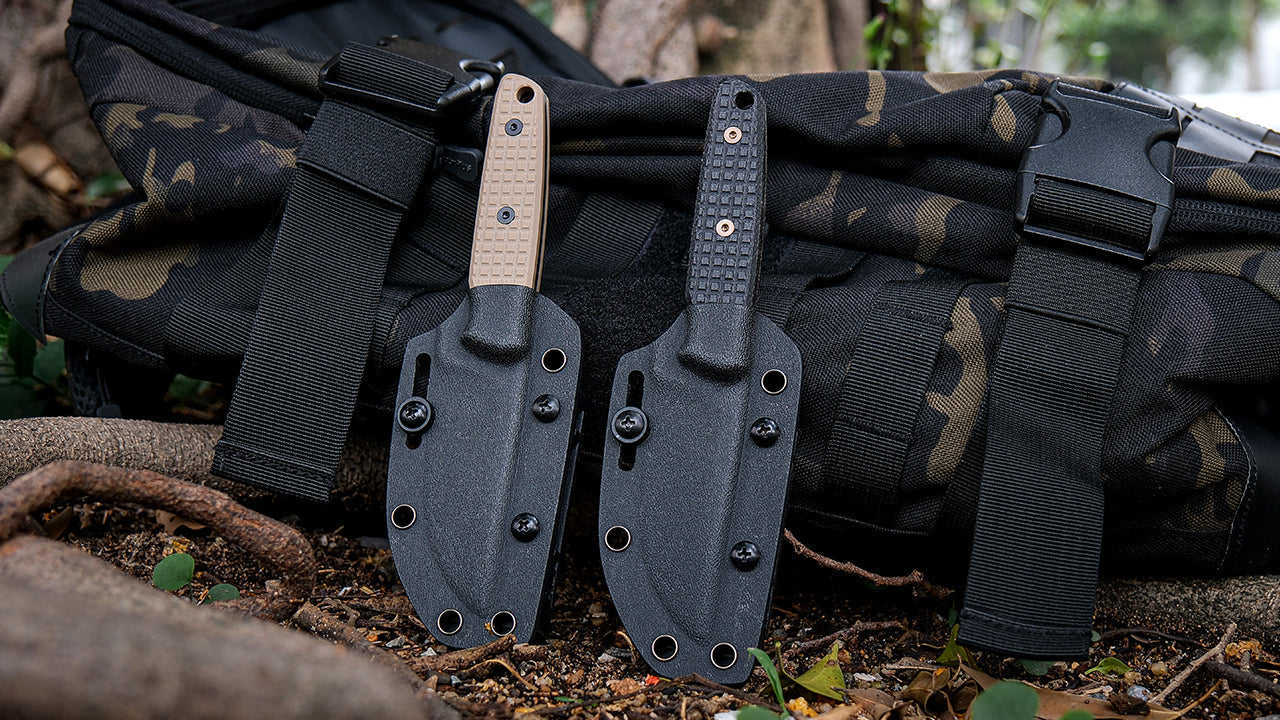
| Fixed Blade Knives |
|
|
Essential Tools and Methods
What's the best way to sharpen a knife? Before diving into technique, make sure you have the right gear for the job. Here's what we recommend for beginners and experienced users alike:
Basic Tools
- Sharpening stones: A 400-1000 grit for initial sharpening, 1000–2000 grit for refined sharpening, and a 2000–4000 grit for further refining and polishing
- Leather strop: Used with honing compound to remove burrs and polish the edge
- Honing compound: Like Tormek PA70 or any white compound
- Spray bottle: For wetting stones with distilled or tap water
- Marker (Sharpie): To highlight the bevel and ensure even material removal
- Scale (optional): To train pressure sensitivity (2–4 lbs for sharpening strokes)
Key Techniques
- Angle control: Consistency is more important than precision—17–20° is ideal for EDC knives
- Burr creation: Your sharpening goal is to form and remove the burr
- Stroke discipline: Heel to tip, steady pressure, consistent angle
- Stropping: Final stage for polishing and burr removal
- Maintenance: Flatten your stones regularly to ensure even sharpening
Pro tip: For slicing-heavy tasks, try finishing your edge with a lower grit (400–600). Research suggests it retains a micro-serrated bite that outperforms polished edges for certain materials.

How to Sharpen Knives: An 8-Step Guide for Pocket, Folding, and Fixed Blades
Sharpening a knife is about rebuilding the apex—the very tip of the blade edge. Here’s how to do it right:
Step 1: Gather the Right Tools
| Knife Type | Recommended Grits | Notes |
| Pocket Knife | 400 / 800 grit combo stone | Use compact bench stones or guided systems; smaller blade = less space |
| Folding Knife | 400 / 1200 grit + angle guide | Mind the handle pivot; avoid sharpening too close to the joint |
| Fixed Blade | 400 / 800 or 1200 / etc | Longer blade? Use full-length stones or wide strops for better results |
Universal Tools:
- Sharpie: Mark bevel to track material removal
- Spray bottle: Keep stones wet
- Leather strop + compound: Finish with a polished edge
- Kitchen scale: Practice pressure (don't guess—test)
Step 2: Mark the Bevel with a Sharpie
Use a Sharpie to color the secondary bevel (the sharpened edge). As you sharpen, the marker wears off where metal is removed—giving real-time feedback on your angle and technique.
Step 3: Feel the Correct Pressure
Use a kitchen scale to press your fingers down until you hit the ideal pressure:
| Knife Type | Ideal Pressure |
| Pocket Knife | ~2–3 lbs (start heavier, lighten for polishing) |
| Folding Knife | ~2.5–3.5 lbs (start heavier, lighten for polishing) |
| Fixed Blade Knife | 3.5–4.5 lbs (start heavier, lighten for polishing) |
Step 4: Set the Angle
Lay the knife flat on the stone. Slowly tilt the blade up until the edge “settles” against the surface.
| Knife Type | Recommended Angle | Tips |
| Pocket Knife | 18–22° | Smaller blades = more sensitive to slight angle changes |
| Folding Knife | 17–20° | Use an angle guide for consistency |
| Fixed Blade Knife | 20–25° | Some fixed blades have thicker geometry—go slightly wider |
Step 5: Begin Sharpening (Heel to Tip)
- Start with the 400-800 grit sharpening stone
- Using finer grits for details and polishing
- With the edge facing away from you, stroke the knife across the stone, maintaining pressure and angle
- Work in small sections, from heel to tip, using 2–3 strokes per section
- Use the same number of strokes on the other side
- Continue until a burr forms along the edge
A burr is a thin wire-like edge that confirms you’ve reached the apex.
Step 6: Switch Sides and Repeat
Flip the knife and perform the same strokes on the opposite side. The burr should now form on the other side—this ensures you've reached the true center of the edge.
Step 7: Polish the Edge (Optional, but Recommended)
Move to a fine stone (1200 to 2000 grit):
- Repeat the same strokes
- Reduce pressure to ~1–2 lbs
- Focus on polishing and smoothing the edge
| Knife Type | Finish Grit | Notes |
| Pocket Knife | 800-1200 | A slightly toothy edge helps with slicing |
| Folding Knife | 800–1200 | Polish if knife is used for clean push cuts (e.g., food prep) |
| Fixed Blade Knife | 600-1000 | Ideal for outdoor tools, bushcraft, or food-safe blades |
Step 8: Deburr with a Leather Strop
Apply honing compound to the strop.
- With the edge facing away from you, pull the knife toward you, heel to tip
- Flip the knife, and push it away from you
- Repeat 5–10 times per side with gentle pressure
*Stropping polishes and removes the burr, resulting in a mirror-finish edge.
In all, to sharpen a pocket knife or folding knife, use a 800–1200 grit stone, keep the angle between 17–22°, and apply light, even pressure. For fixed blade knives, longer strokes and a wider 20–25° angle work best. Each method keeps your EDC knife razor-sharp and ready.

Bonus Tips for Beginners
Sharpening is a skill built through patience and repetition—small habits make a big difference.
- Sharpen slowly—speed comes later
- Practice on thrift-store knives to avoid risking premium blades
- Always dry and oil your knife after sharpening to prevent rust
Maintenance Tips: How to Keep Your Knife Sharp Longer
Once the basics are in place, long-term performance depends on how well the edge is cared for.
- Avoid glass, stone, or metal cutting surfaces
- Clean your blade regularly
- Hone lightly with a strop after every few uses
- Store in a dry place, preferably in a sheath or case
- Don't wait until your knife is dull—light maintenance beats full re-sharpening
Regular stropping helps any sharp knife hold its edge, whether it’s a pocket knife or a bushcraft fixed blade.
Common Mistakes to Avoid
Even with the right tools and good intentions, small mistakes can undo sharpening progress. Here's what to avoid:
- Inconsistent angle – Leads to uneven edge and poor sharpness
- Too much pressure – Damages bevel, and removes too much steel
- Skipping the stropping step – Leaves burrs, reduces cutting performance
- Using dull or uneven stones – Cuts poorly and wears edge unevenly
- Rushing – Precision drops, and edge may never forms correctly
Frequently Asked Questions about Knife Sharpening
Q1: How Often Should You Sharpen Your EDC Knife?
Light-use EDC knives (e.g., box opening, food prep) typically need light touch-ups every 2–4 weeks. But heavier use may call for weekly maintenance.
Q2: What’s the Best Way to Sharpen a Pocket Knife for Beginners?
● Use a medium grit stone (400–1200) to start
● Maintain a consistent angle—around 20° is a safe choice
● Apply light, even pressure—don’t force the blade
● Mark the bevel with a Sharpie to track your strokes
● Sharpen both sides evenly to keep the edge centered
● Watch for a burr—it means you've reached the apex
● Always finish with a strop to remove the burr and polish
● Go slow—accuracy matters more than speed
Q3: Can You Over-Sharpen a Knife?
No—it’s not good to over-sharpen.
Sharpening too often or removing more metal than necessary doesn’t improve performance. Instead, it shortens the blade’s lifespan, weakens the edge, and can ruin the knife’s original geometry.
What’s Better:
- Sharpen only when dull
- Maintain the edge with stropping or light honing
- Use minimal pressure and gentle technique
Mastering Knife Sharpening for Life
With the right tools, steady hands, and attention to detail, you can keep your pocket knife, folding knife, or fixed blade sharp enough to shave. Take your time, build consistency, and you’ll find sharpening to be one of the most rewarding parts of knife ownership.
Leave a comment
All comments are moderated before being published.
This site is protected by hCaptcha and the hCaptcha Privacy Policy and Terms of Service apply.